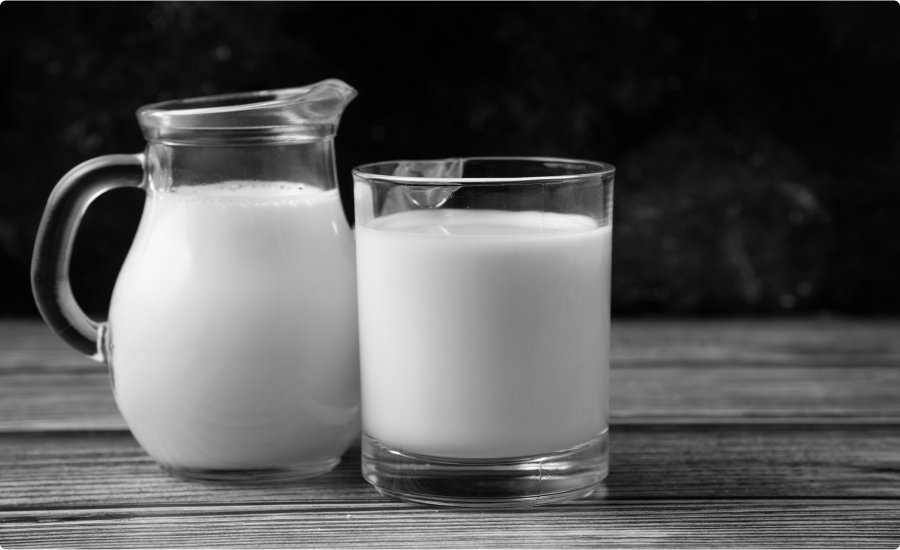
Boiling fresh milk is a fundamental kitchen skill, especially in Kerala where fresh milk from local farms is readily available. But achieving that perfect, smooth boil doesn’t just depend on the milk itself – the right tools and equipment play a crucial role. This guide equips you with the knowledge on choosing the perfect pot, understanding heat sources, and essential kitchen tools to conquer the art of boiling fresh Kerala mil
Choosing the Right Pot: Material Matters
The pot selection sets the stage for your boiling success. Here’s what to consider:
-
Material: Opt for a heavy-bottomed pot made of stainless steel, aluminum with a clad bottom, or cast iron. These materials distribute heat evenly, preventing scorching and ensuring consistent boiling. Avoid thin-bottomed pots that can lead to hot spots and burnt milk.
-
Size: Choose a pot with a capacity slightly larger than the amount of milk you plan to boil. This allows for space for the milk to bubble without overflowing, especially for fresh milk which tends to rise more during boiling. A 2-quart pot is suitable for boiling 1-1.5 liters of milk, a common quantity for most Kerala households.
-
Shape: Opt for a pot with straight sides and a wide bottom for maximum surface area contact with the heat source. This promotes even heating and reduces the risk of scorching. Deeper pots are also helpful to minimize milk splashing during boiling.
Bonus Tip: Consider a pot with a pouring lip for easy and mess-free transfer of boiled milk.
Understanding Heat Sources: Mastering the Flame Game
Now that you have the perfect pot, let’s explore common heat sources:
-
Gas Stove: This is the most common heat source in Kerala kitchens. Use medium heat for boiling milk. A simmer plate attachment helps maintain a gentle boil and prevents scorching.
-
Induction Cooktop: Induction cooktops offer precise heat control and are very efficient. However, ensure your pot is induction-compatible for proper heating.
-
Electric Stove: While functional, electric stoves can have uneven heat distribution. Start with medium heat and adjust as needed.
Remember: Always adjust the heat based on the milk quantity and desired outcome.
Essential Kitchen Tools: Your Boiling Buddies
Beyond the pot, these tools make the boiling process smoother:
-
Whisk: A metal whisk is a must-have for stirring the milk gently while it heats. This prevents a skin from forming on the surface and ensures even cooking.
-
Spoon: A long-handled spoon is useful for skimming any foam that might accumulate during the boiling process.
-
Timer: Setting a timer ensures you don’t overboil the milk, which can alter its taste and texture.
-
Thermometer (Optional): For ultimate control, consider using a food thermometer to monitor the milk temperature precisely. Fresh milk boils around 185°F (85°C).
Kerala Touch: Traditionally, a “mathukada” (earthenware pot) was used for boiling milk. While less common today, it offers a unique slow and gentle boiling process that some believe preserves the natural sweetness of fresh milk.
Safety First: Always use pot holders when handling hot pots and milk.
Putting it All Together: Boiling Like a Pro in Kerala
With the right equipment in hand, here’s how to boil fresh Kerala milk like a pro:
- Prep: Pour your desired amount of fresh milk into your chosen pot.
- Heat Up: Place the pot on the stovetop over medium heat.
- Watch and Whisk: As the milk heats, keep an eye on it and whisk gently but frequently to prevent scorching and skin formation.
- The Big Boil: Once the milk starts to simmer rapidly and small bubbles appear around the edges, it’s nearing its boiling point.
- Temperature Check (Optional): If using a thermometer, remove the pot from heat once the milk reaches 185°F (85°C).
- Foam Control: Use a spoon to gently skim any foam that accumulates on the surface.
- Power Down: Immediately remove the pot from the heat source.
Fresh Milk Tip: Fresh Kerala milk might rise more during boiling compared to commercially processed milk. Keep a watchful eye and adjust the heat as needed to prevent overflow.
Bonus Tip: For a richer taste, some people in Kerala prefer to boil the milk partially covered. This allows a thin layer of cream to form on the surface, which can be incorporated back into the milk after boiling.
By following these steps and using the right tools, you’ll be boiling fresh milk in Kerala to perfection in no time. Now, you can utilize this beautifully boiled milk in a vast array of Kerala


0 Comments
This is exactly what i was looking for, thank you so much for these tutorials
It would be great to try this theme for my businesses
What a nice article. It keeps me reading more and more!
This is exactly what i was looking for, thank you so much for these tutorials
It would be great to try this theme for my businesses
What a nice article. It keeps me reading more and more!